
Keeping your water flosser clean is just as important as using it. A well-maintained device prevents bacteria buildup, ensures strong performance, and supports a healthy oral hygiene routine.
Many people don’t realize that without regular cleaning, a water flosser can harbor mold, mineral deposits, and debris, reducing its effectiveness over time.
With a few simple steps done daily, weekly, and monthly, you can protect your device and your oral health. From rinsing the reservoir to deep-cleaning internal parts, this guide will walk you through the most effective ways to clean your water flosser.
Let’s break down everything you need to know for a cleaner, longer-lasting device.
Key Takeaways
-
Daily maintenance, including rinsing and drying the water reservoir, is essential to prevent bacteria and mold growth.
-
A weekly cleaning routine with vinegar and warm water helps maintain optimal performance and hygiene of the water flosser.
-
Monthly deep cleaning is crucial for removing mineral deposits and ensuring all components are disinfected and functioning properly.
Why Cleaning Your Water Flosser Matters
Learning how to clean a water flosser effectively is essential for maintaining optimal oral hygiene and protecting the longevity of your device. Just like brushing your teeth or flossing with string floss, keeping your water flosser clean ensures that it continues to remove plaque, flush out food debris, and protect your gums without introducing bacteria or mold back into your mouth.
Over time, moisture, food particles, and mineral deposits can collect inside the water reservoir, tubing, and flosser tip. If left uncleaned, these can affect performance, damage internal components, or worse, compromise your oral health by reintroducing bacteria during daily use.
Whether you're using a countertop model or a cordless version like the SNOW AquaJet Pro, regular cleaning prevents buildup and keeps your flosser operating like new.
Daily Water Flosser Maintenance
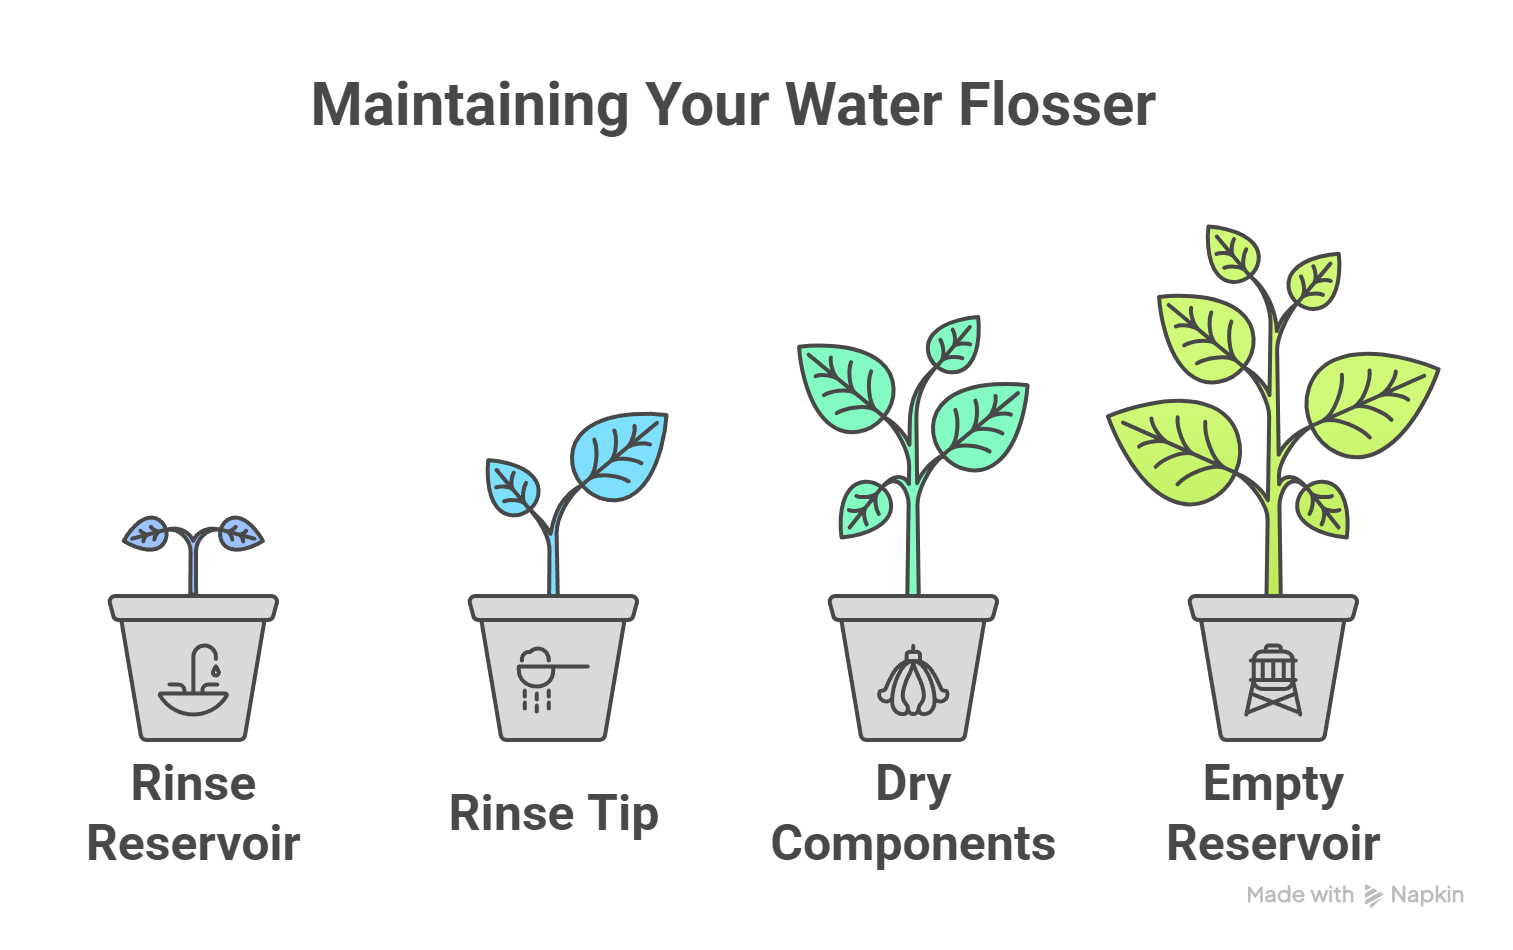
Daily maintenance is the foundation of a clean, long-lasting water flosser. These quick steps after each use can prevent mold growth and bacteria from forming inside your device.
Rinse the Reservoir and Tip After Use
After every use, it’s important to remove any remaining water and flush out food debris from your water reservoir and tip. Here’s how:
-
Empty the water reservoir completely
-
Rinse it under warm water for a few seconds to remove residue
-
Remove the flosser tip and rinse it with running water to dislodge trapped particles
This quick rinse routine keeps the device fresh and avoids bacteria buildup from leftover water.
Dry All Components to Prevent Mold
Once you’ve rinsed everything, drying your flosser is just as important. Moisture trapped inside the unit can promote mold growth and damage internal parts.
-
Use a soft cloth to wipe down the reservoir, base, and flosser tip
-
Leave the water tank and tip out to air dry completely
Air drying your flosser overnight helps keep it clean between uses.
Avoid Leaving Water Sitting Overnight
Standing water becomes a breeding ground for bacteria and fungi. To maintain hygiene:
-
Never store your flosser with water left inside
-
Ensure the reservoir is empty before placing it back on the base
These daily steps take less than a minute but go a long way in protecting your investment.
Weekly Water Flosser Cleaning Routine
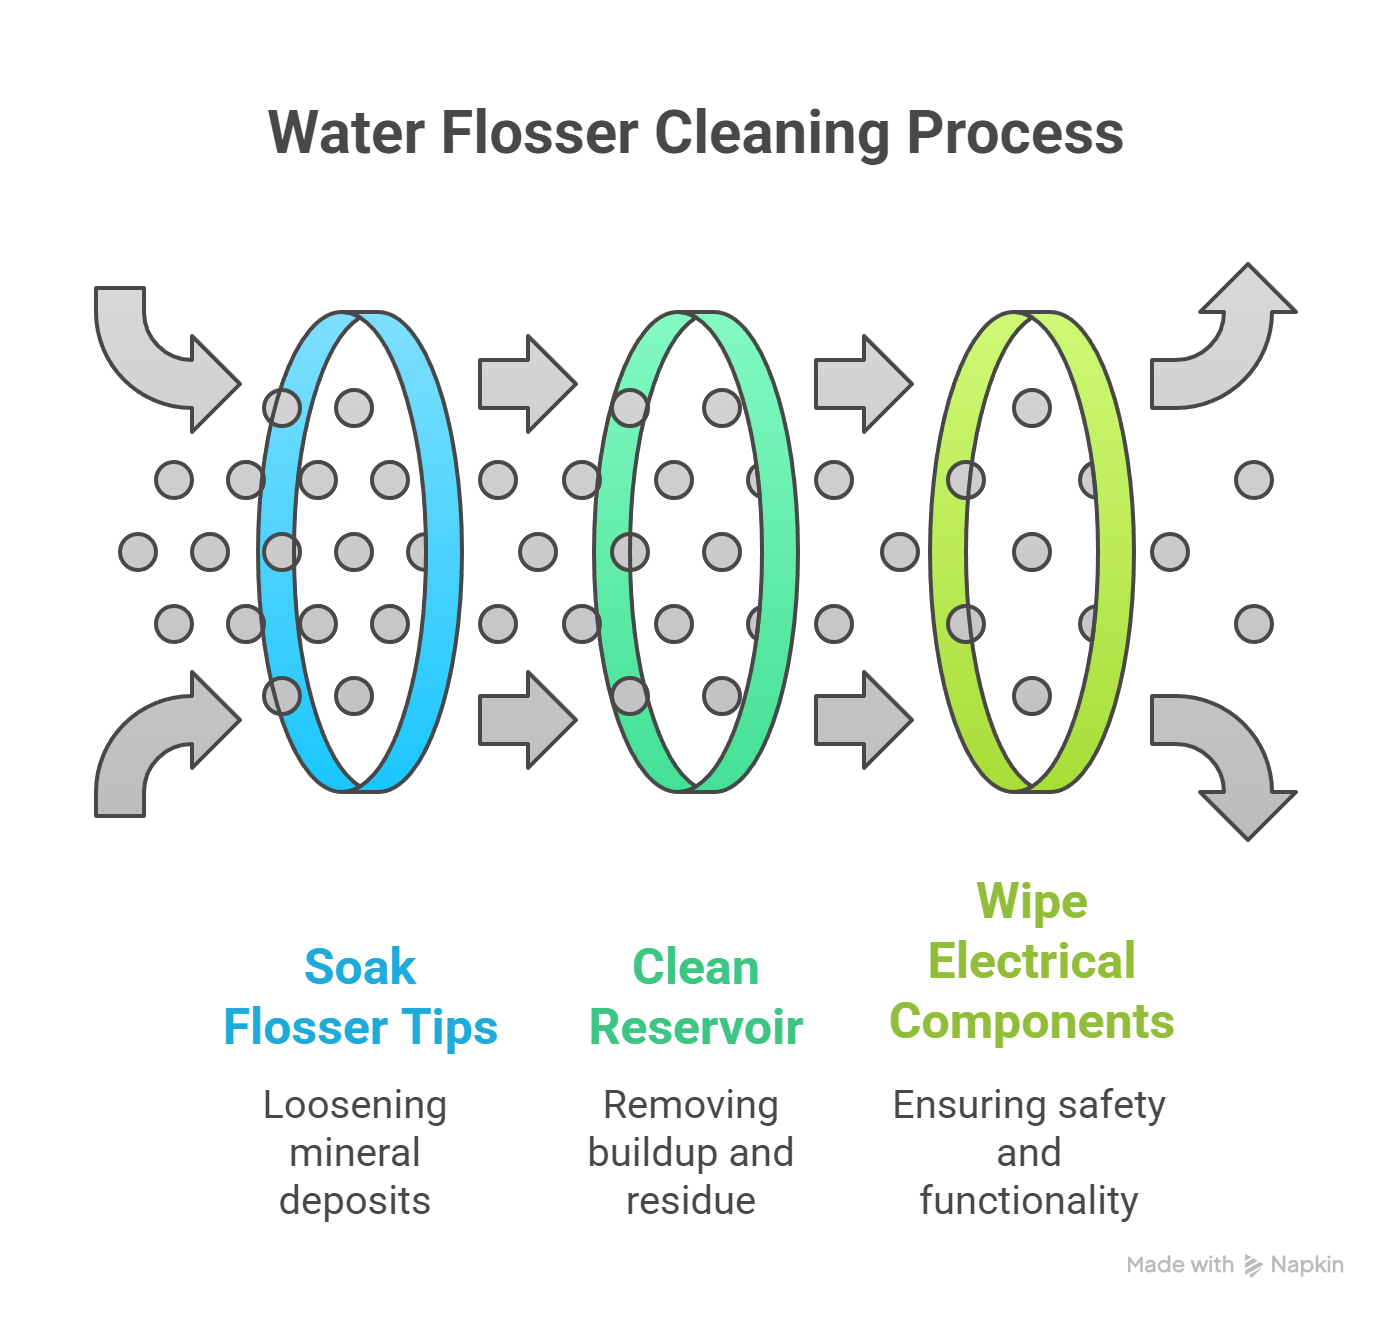
Weekly cleaning takes things one step further by addressing buildup in areas that daily rinsing can’t reach. This quick but effective clean helps maintain consistent performance.
Soak Tips in Vinegar Solution
Flosser tips can accumulate mineral deposits, especially in homes with hard water. Soaking them helps loosen buildup:
-
Mix a vinegar and water solution using one part white vinegar to two parts warm water
-
Soak the flosser tip in the solution for five to seven minutes
-
Rinse thoroughly with cold water and let it air dry
Doing this once a week helps keep your tip clear and hygienic.
Clean Reservoir and Outer Shell
To clean the exterior and water reservoir:
-
Wash the reservoir with warm soapy water and rinse well
-
Use a damp cloth or soft cloth to wipe down the outer shell
-
Avoid abrasive materials that may scratch or damage the finish
If your reservoir is dishwasher safe, place it on the top rack and avoid the heated dry cycle.
Wipe Electrical Components Carefully
Use extra caution when cleaning electrical parts of your flosser or troubleshooting issues with an electric toothbrush:
-
Unplug the device
-
Use a lightly dampened cloth to clean buttons, base, and handle
-
Avoid getting water near the power cord or charging port
These small tasks help preserve the flosser's integrity without damaging sensitive areas.
Monthly Deep Cleaning for Full Sanitization
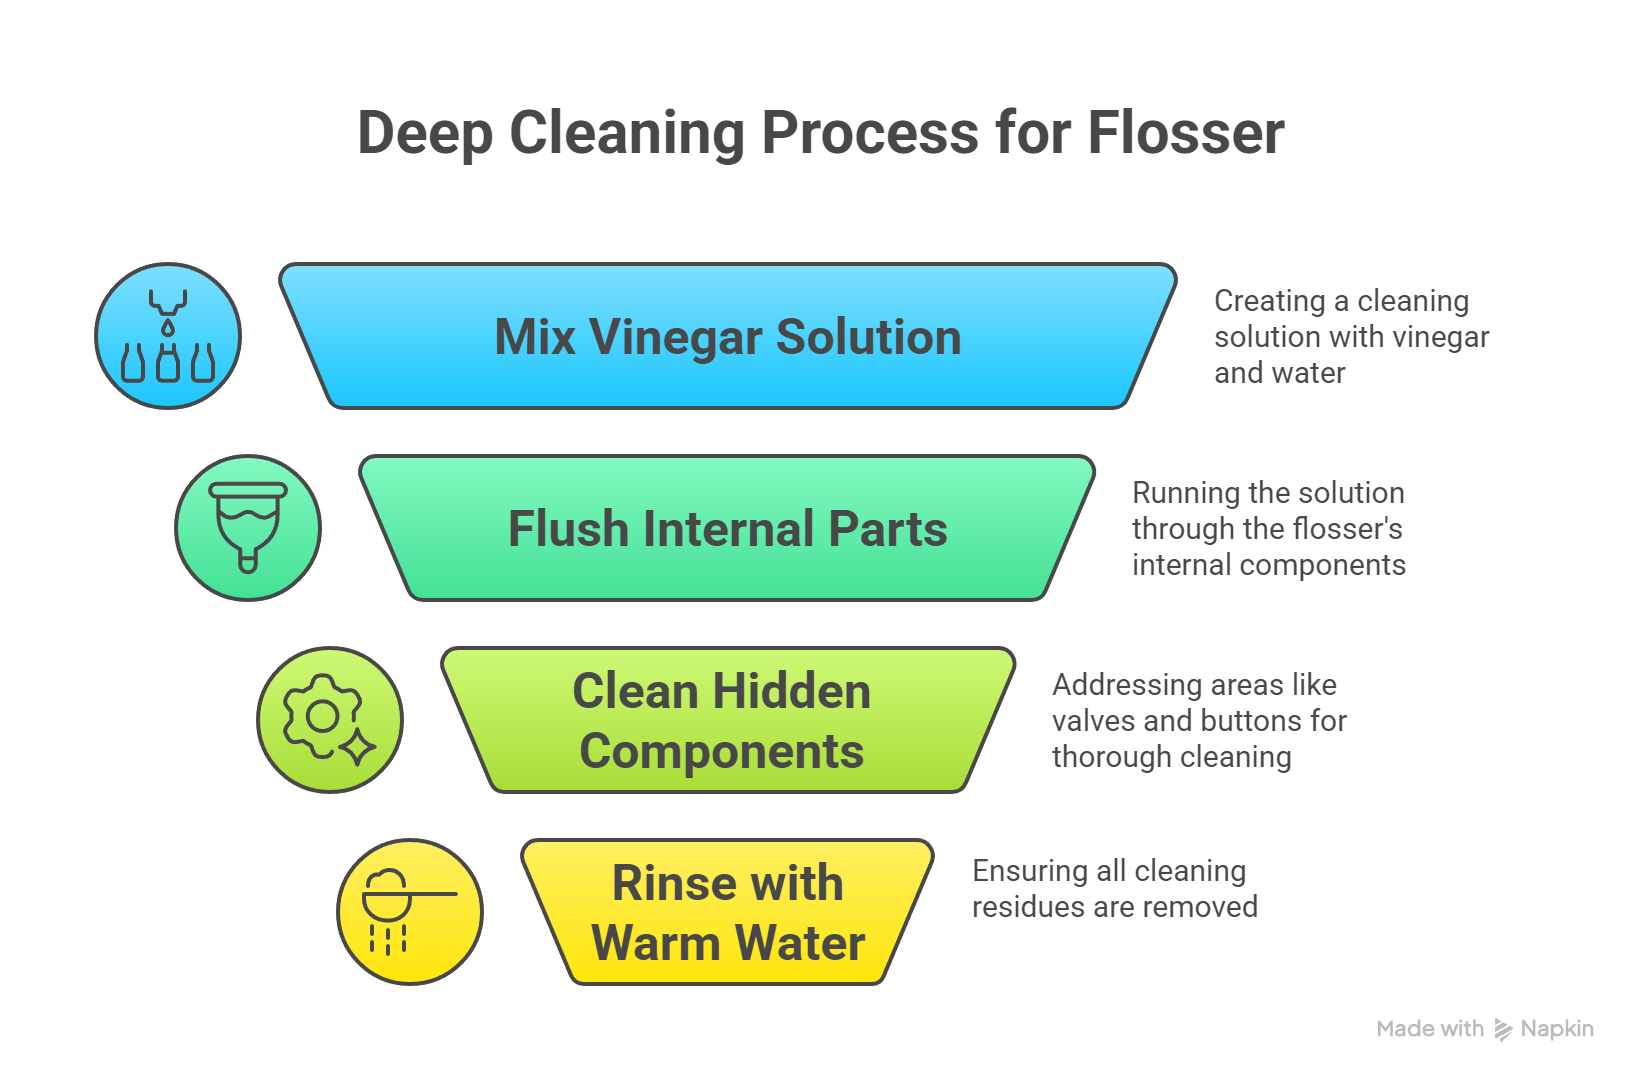
Monthly deep cleaning addresses areas not reached during your weekly maintenance. It’s the key to eliminating hidden bacteria and mineral buildup.
Flush Internal Parts with Vinegar and Water
This process helps clean the internal tubing and pump of your device:
-
Mix one part white vinegar with two parts warm water
-
Fill the water reservoir with the solution and run the flosser until the reservoir is empty
-
Rinse again with clean warm water to flush out vinegar residue
This technique effectively removes internal mineral deposits and keeps your flosser performing well.
Clean Valve and Hidden Components
Don’t overlook hidden areas like the reservoir valve or eject button:
-
Remove the valve and massage it under running warm water to dislodge buildup
-
Check the water tank opening and sink areas where residue collects
Use a soft brush if needed to clean small crevices inside the device.
Rinse Everything with Warm Water
After your deep clean, it’s important to give all parts a final rinse:
-
Run clean warm water through the system
-
Rinse the reservoir, tip, and internal components again
This ensures that any lingering vinegar, debris, or loosened particles are completely removed.
How to Clean Each Water Flosser Part
Each part of your water flosser requires individual care to ensure optimal performance and hygiene. Below is a step-by-step guide on how to clean your water flosser effectively.
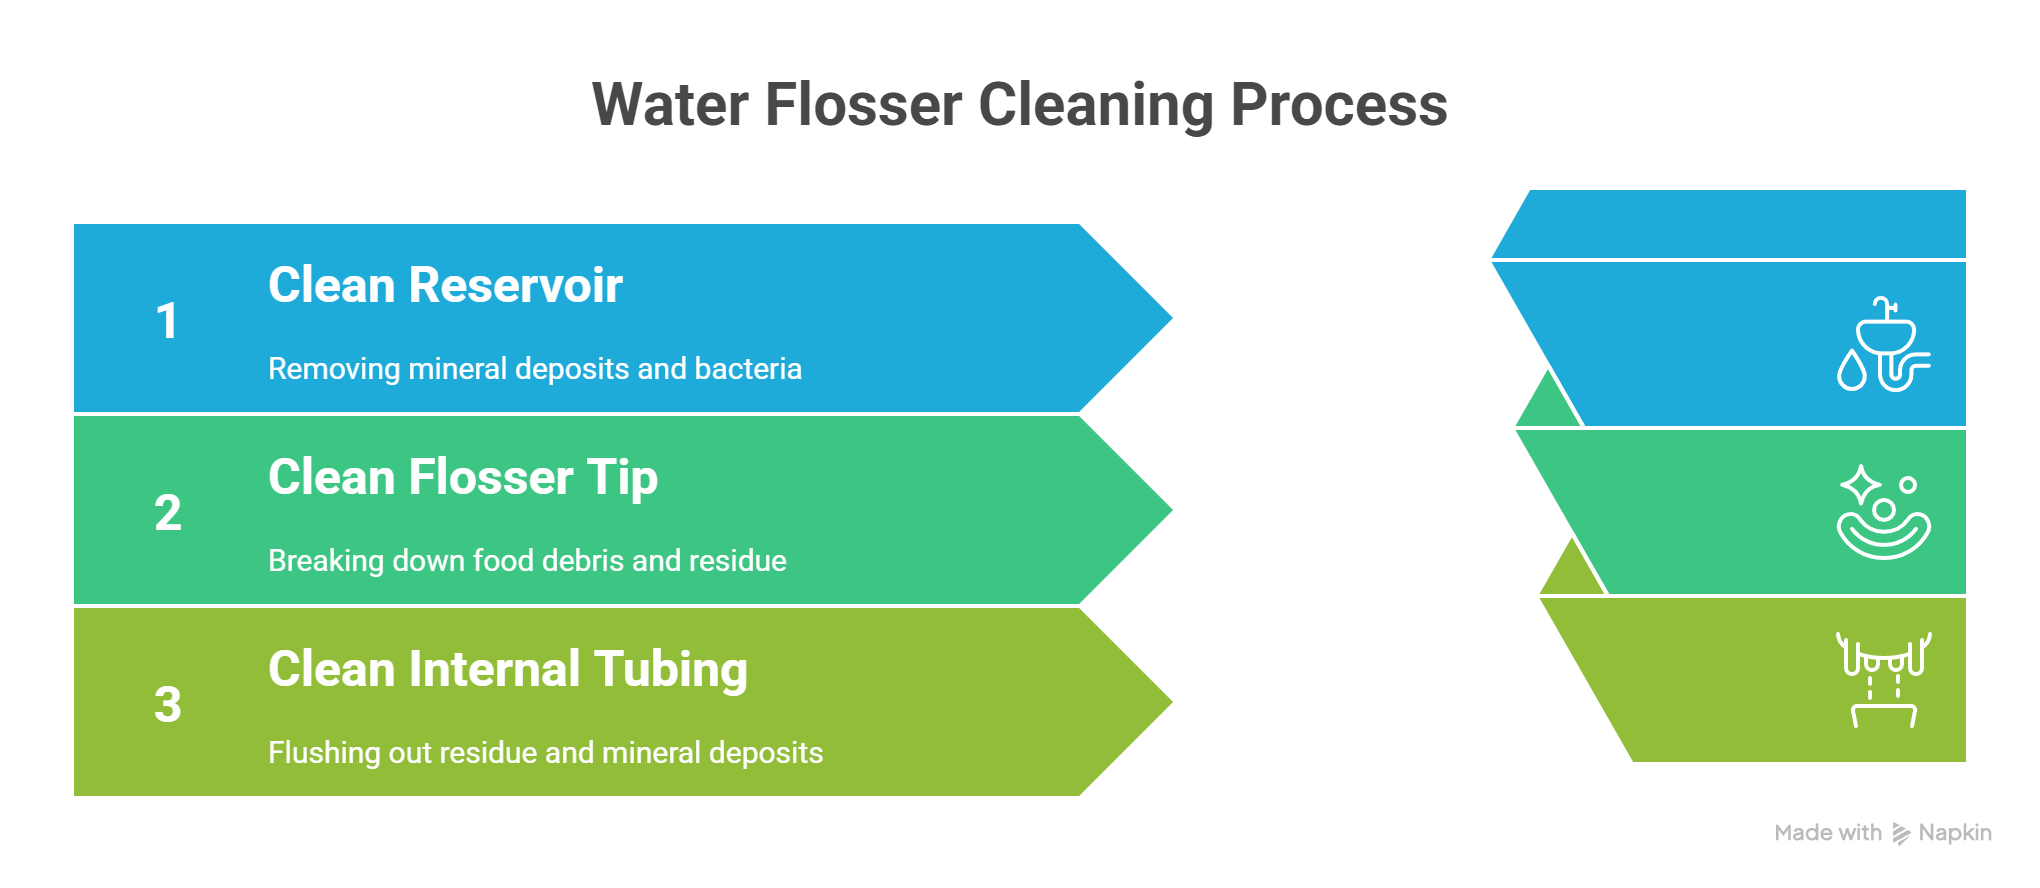
How to Clean the Water Reservoir
Keeping your water reservoir clean is essential for preventing mineral deposits and bacteria buildup. Follow these steps once a week:
-
Remove the reservoir from your device using the eject button if available.
-
Wash the reservoir with warm soapy water, or place it on the top rack of your dishwasher if it’s labeled dishwasher safe.
-
Avoid the heated dry cycle, as it can warp or damage the plastic.
-
Let the reservoir air dry completely before reassembling or storing. This reduces the chance of mold growth.
-
Inspect the reservoir valve for any stuck debris or buildup, and clean it gently if needed.
Cleaning the reservoir regularly ensures clean water flows through your device and supports your oral hygiene routine.
How to Clean the Flosser Tip
The flosser tip enters your mouth daily, so keeping it clean helps reduce bacteria and improve effectiveness. Clean your water flosser tip weekly using the steps below:
-
Prepare a cleaning solution by mixing one part white vinegar to two parts warm water in a cup or small bowl.
-
Soak the flosser tip in the solution for five to seven minutes to break down food debris and residue.
-
Remove the tip and rinse it thoroughly under cold water for a few seconds.
-
Allow the tip to air dry fully on a clean place, like a towel or drying rack.
-
Replace tips every three to six months, or sooner if they appear worn or discolored.
Maintaining a clean tip helps with removing plaque and protecting sensitive gums along the gum line.
How to Clean Internal Tubing and Valves
Your flosser’s internal parts, including tubing and valves, may collect residue and mineral deposits over time. A monthly deep cleaning will help keep the system flowing freely.
Follow these steps to clean the internal system:
-
Fill the reservoir with a vinegar and water solution (use 1–2 tablespoons of white vinegar and 16 ounces of warm water).
-
Run the solution through the device until the reservoir is empty to cleanse the internal components.
-
Refill the reservoir with clean water and run it again to flush out any remaining vinegar.
-
Remove the valve from the reservoir and massage it under running warm water for about 30 seconds. This helps loosen any hidden debris.
-
Air dry all parts completely before storing the device.
Doing this once a month supports a longer-lasting flosser, better water pressure, and overall improved oral health.
How to Prevent Mold and Bacterial Growth
Prevention is just as important as cleaning. These proactive tips will help keep your device safe and sanitary.
Use Distilled or Filtered Water
Hard tap water can leave behind mineral deposits:
-
Use distilled or filtered clean water to fill your flosser
-
Avoid using water that contains a high concentration of calcium or magnesium
This reduces buildup and makes cleaning easier in the long run.
Keep the Device Dry Between Uses
Water left in the unit can lead to mold growth and odors:
-
Empty the reservoir after each use
-
Leave the reservoir and tip out to air dry in a clean place
These habits promote airflow and reduce the chance of moisture buildup.
Avoid Harsh Chemicals Like Chlorine
Strong chemicals can damage internal parts:
-
Never use bleach, iodine, or hydrogen peroxide unless specifically recommended by the manufacturer
-
Stick to mild solutions like white vinegar and warm water
This keeps your device clean without compromising materials.
Manufacturer Guidelines and Replacement Schedules
Following manufacturer instructions ensures your flosser performs safely and effectively.
How Often to Replace Tips
Tips wear down with time and use:
-
Replace water flosser tips every three to six months depending on usage
-
Always use compatible parts recommended by your device manufacturer
Regular replacement improves flossing effectiveness and oral hygiene.
Dishwasher Safety
Some reservoirs and accessories are dishwasher safe:
-
Always place them on the top rack only
-
Skip the heated dry cycle to avoid warping or cracking
If unsure, opt to hand wash and air dry instead.
Why Mouthwash Can Damage Devices
Not all mouthwashes are compatible with water flossers:
-
Alcohol-based or whitening mouthwashes may damage internal components
-
If using additives, dilute them or choose a mouthwash-compatible model
For example, the SNOW AquaJet Pro is a professional-grade cordless device that is fully compatible with mouthwash and whitening solutions. It features a mouthwash-friendly water tank and dual-stream technology to deliver a powerful, customizable clean.
With over 4,000 glowing reviews, the AquaJet Pro makes it easy to clean your gum line, remove food debris, and freshen your breath in under 10 seconds a day. It's cordless, dentist-recommended, and engineered for sensitive gums. This is an ideal upgrade for anyone serious about their oral hygiene.
Final Thoughts
Keeping your water flosser clean is not just a matter of convenience, it is essential for protecting your oral health and getting the most out of your device. With regular cleaning using simple tools like warm water, white vinegar, and a soft cloth, you can prevent mold, bacteria, and mineral buildup from affecting performance.
If you want a device that’s easier to maintain, consider upgrading to a model like the SNOW® AquaJet® Pro. This mouthwash-compatible, dentist-designed water flosser delivers powerful cleaning with built-in convenience and a sleek, cordless design. It’s gentle on sensitive gums and engineered for daily use.
Maintaining a clean water flosser ensures clean water with every rinse and supports your entire oral hygiene routine. A few minutes of care today helps keep your smile healthier tomorrow.
Frequently Asked Questions
Before you go, here are quick answers to common questions about how to clean a water flosser effectively:
How often should you clean a water flosser?
It's essential to rinse and drain the reservoir after each use, clean removable items weekly, and perform a deep clean of the internal mechanisms and tip monthly for optimal performance. Taking these steps ensures your water flosser remains hygienic and effective.
What solution can be used to clean the internal components of a water flosser?
Using a mixture of white vinegar and warm water is an effective solution to clean the internal components of a water flosser. This method helps maintain its performance and hygiene.
How often should the water flosser tip be replaced?
The water flosser tip should be replaced every three to six months to ensure optimal performance and maintain oral hygiene.
Can water flosser components be cleaned in a dishwasher?
Yes, the water reservoir and valve of a water flosser can be cleaned in a dishwasher, but ensure they are placed on the top rack and avoid using the heated dry cycle.
What is the recommended method for daily cleaning of a water flosser?
For daily cleaning of a water flosser, empty the water reservoir and rinse it with warm water to maintain optimal hygiene and performance.
If you want to learn more, why not check out these articles below:
- Can a Water Flosser Remove Tartar
- Can You Put Mouthwash in a Water Flosser
- How to Get White Teeth in 1 Day with Toothpaste
- Is It Safe to Use Whitening Toothpaste Everyday
- Should You Leave Toothpaste on Your Teeth
- Are Toothpaste Tablets Effective
- Best Water Flosser
- Best Dental Floss
- Best Portable Water Flosser
- Best Travel Water Flosser
- When Is the Best Time to Floss
- Why Does My Floss Smell Bad?
- Why is Flossing Important?
- Why Does Flossing Feel Good?
- Do Water Flossers Work?


