


Electric toothbrushes are powerful tools for maintaining oral health—but only when they’re kept clean. Over time, residue, bacteria, and hard water buildup can affect both hygiene and performance. Knowing how to clean an electric toothbrush properly ensures it stays effective, hygienic, and long-lasting. In this guide, we’ll walk you through expert-recommended steps to keep your toothbrush in top condition with minimal effort.

Key Takeaways
-
Daily cleaning of electric toothbrushes is essential for preventing bacteria and maintaining optimal oral hygiene, including rinsing, shaking off excess water, and storing upright in a ventilated area.
-
Weekly deep cleaning methods, such as using mild soap, vinegar solutions, and hydrogen peroxide, help thoroughly sanitize toothbrushes and extend their lifespan.
-
Regular brush head replacement every 3-4 months, monitoring bristle condition, and proper battery care enhance the effectiveness and longevity of electric toothbrushes.
Daily Cleaning Routine for Electric Toothbrushes
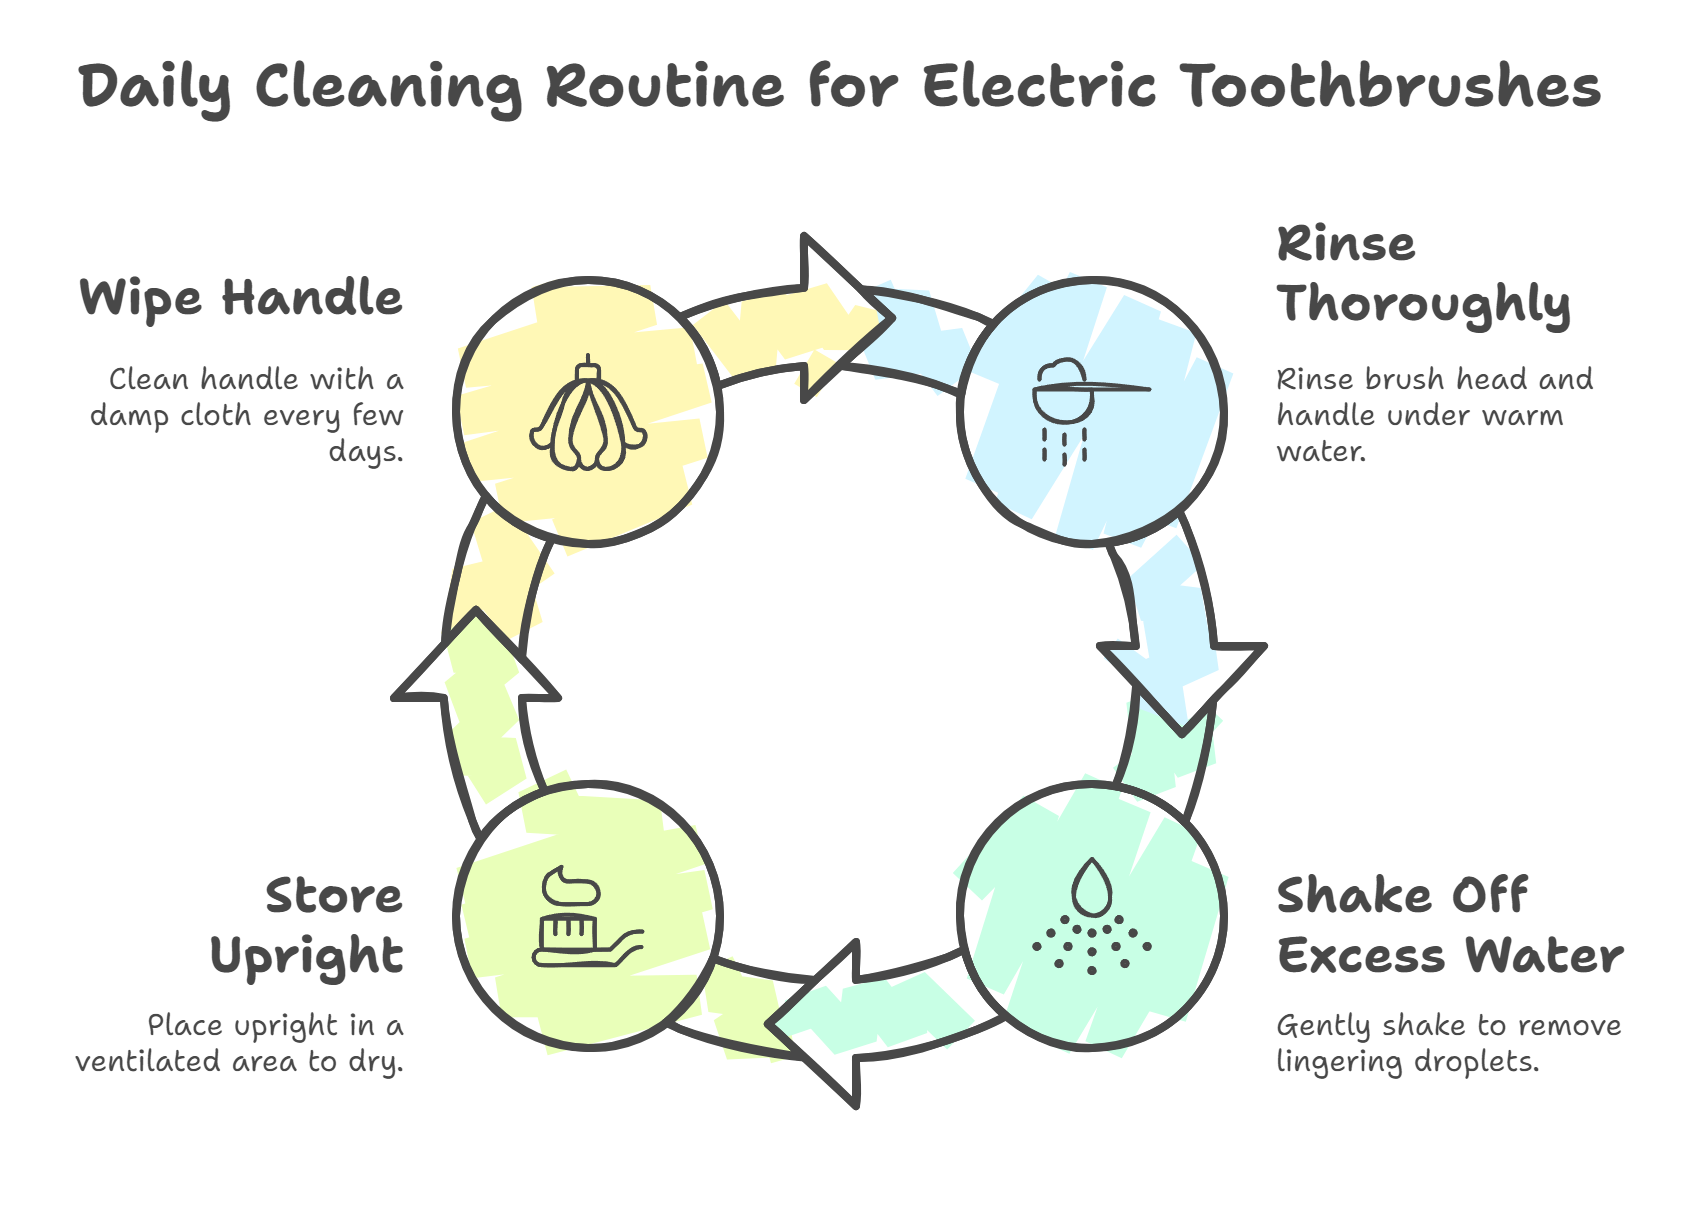
If you’re investing in your oral health with an electric toothbrush, keeping it clean should be part of the routine—not just for hygiene, but also for performance and longevity. Over time, toothpaste residue, saliva, and bacteria can build up around the bristles, handle, and charging base, which can lead to mold, unpleasant smells, and even reintroducing germs into your mouth.
The good news? Cleaning your electric toothbrush doesn’t need to be complicated. Just a few small daily habits can keep things fresh and effective.
Here’s how to properly clean your electric toothbrush every day:
1. Rinse Thoroughly After Every Use
Right after you finish brushing, take a moment to rinse both the brush head and handle under warm running water. This helps wash away any leftover toothpaste, food particles, and saliva before they have a chance to dry and harden.
Pro Tip: If your toothbrush has ridges or textured areas around the brush head, pay special attention to those spots—gunk tends to collect there. And if you notice dried toothpaste crust, rinse the brush head under hot water for a few seconds to loosen the residue.
2. Gently Shake Off Excess Water
Once you’ve rinsed your toothbrush, give it a few gentle shakes to remove lingering droplets. You’d be surprised how much moisture hides in the brush head—and damp conditions are exactly where bacteria love to grow.
Why it matters: Even the best electric toothbrush can become unhygienic if moisture is constantly trapped around the base or brush head. Reducing excess water after use is a simple way to prevent mold and extend the life of your brush.
3. Store Upright and Let It Air Dry
After shaking off the water, place your toothbrush upright in an open, well-ventilated area. Let it dry completely between uses—don’t store it in a closed drawer, travel case, or cup without airflow.
Avoid storing it near toilets or sinks, where splashes and airborne particles can easily contaminate the brush head. If possible, use a dedicated toothbrush holder that allows for upright drying and separation from other brushes.
4. Wipe the Handle Every Few Days
While this isn’t a daily task, it’s worth doing every few days. Use a damp cloth or antibacterial wipe to clean the handle, especially around buttons or grooves where grime can accumulate.
If your toothbrush sits in a charging base, check underneath it from time to time—water or toothpaste can collect there, too.
Bonus Tip: Use the Lid Sparingly
Some toothbrushes come with travel caps or covers. These are great for packing, but they shouldn’t be used for long-term storage at home. Covers can trap moisture, making it easier for bacteria and mold to grow. If you must use a cover, make sure the brush is completely dry before sealing it.
Weekly Deep Cleaning Methods for Your Electric Toothbrush
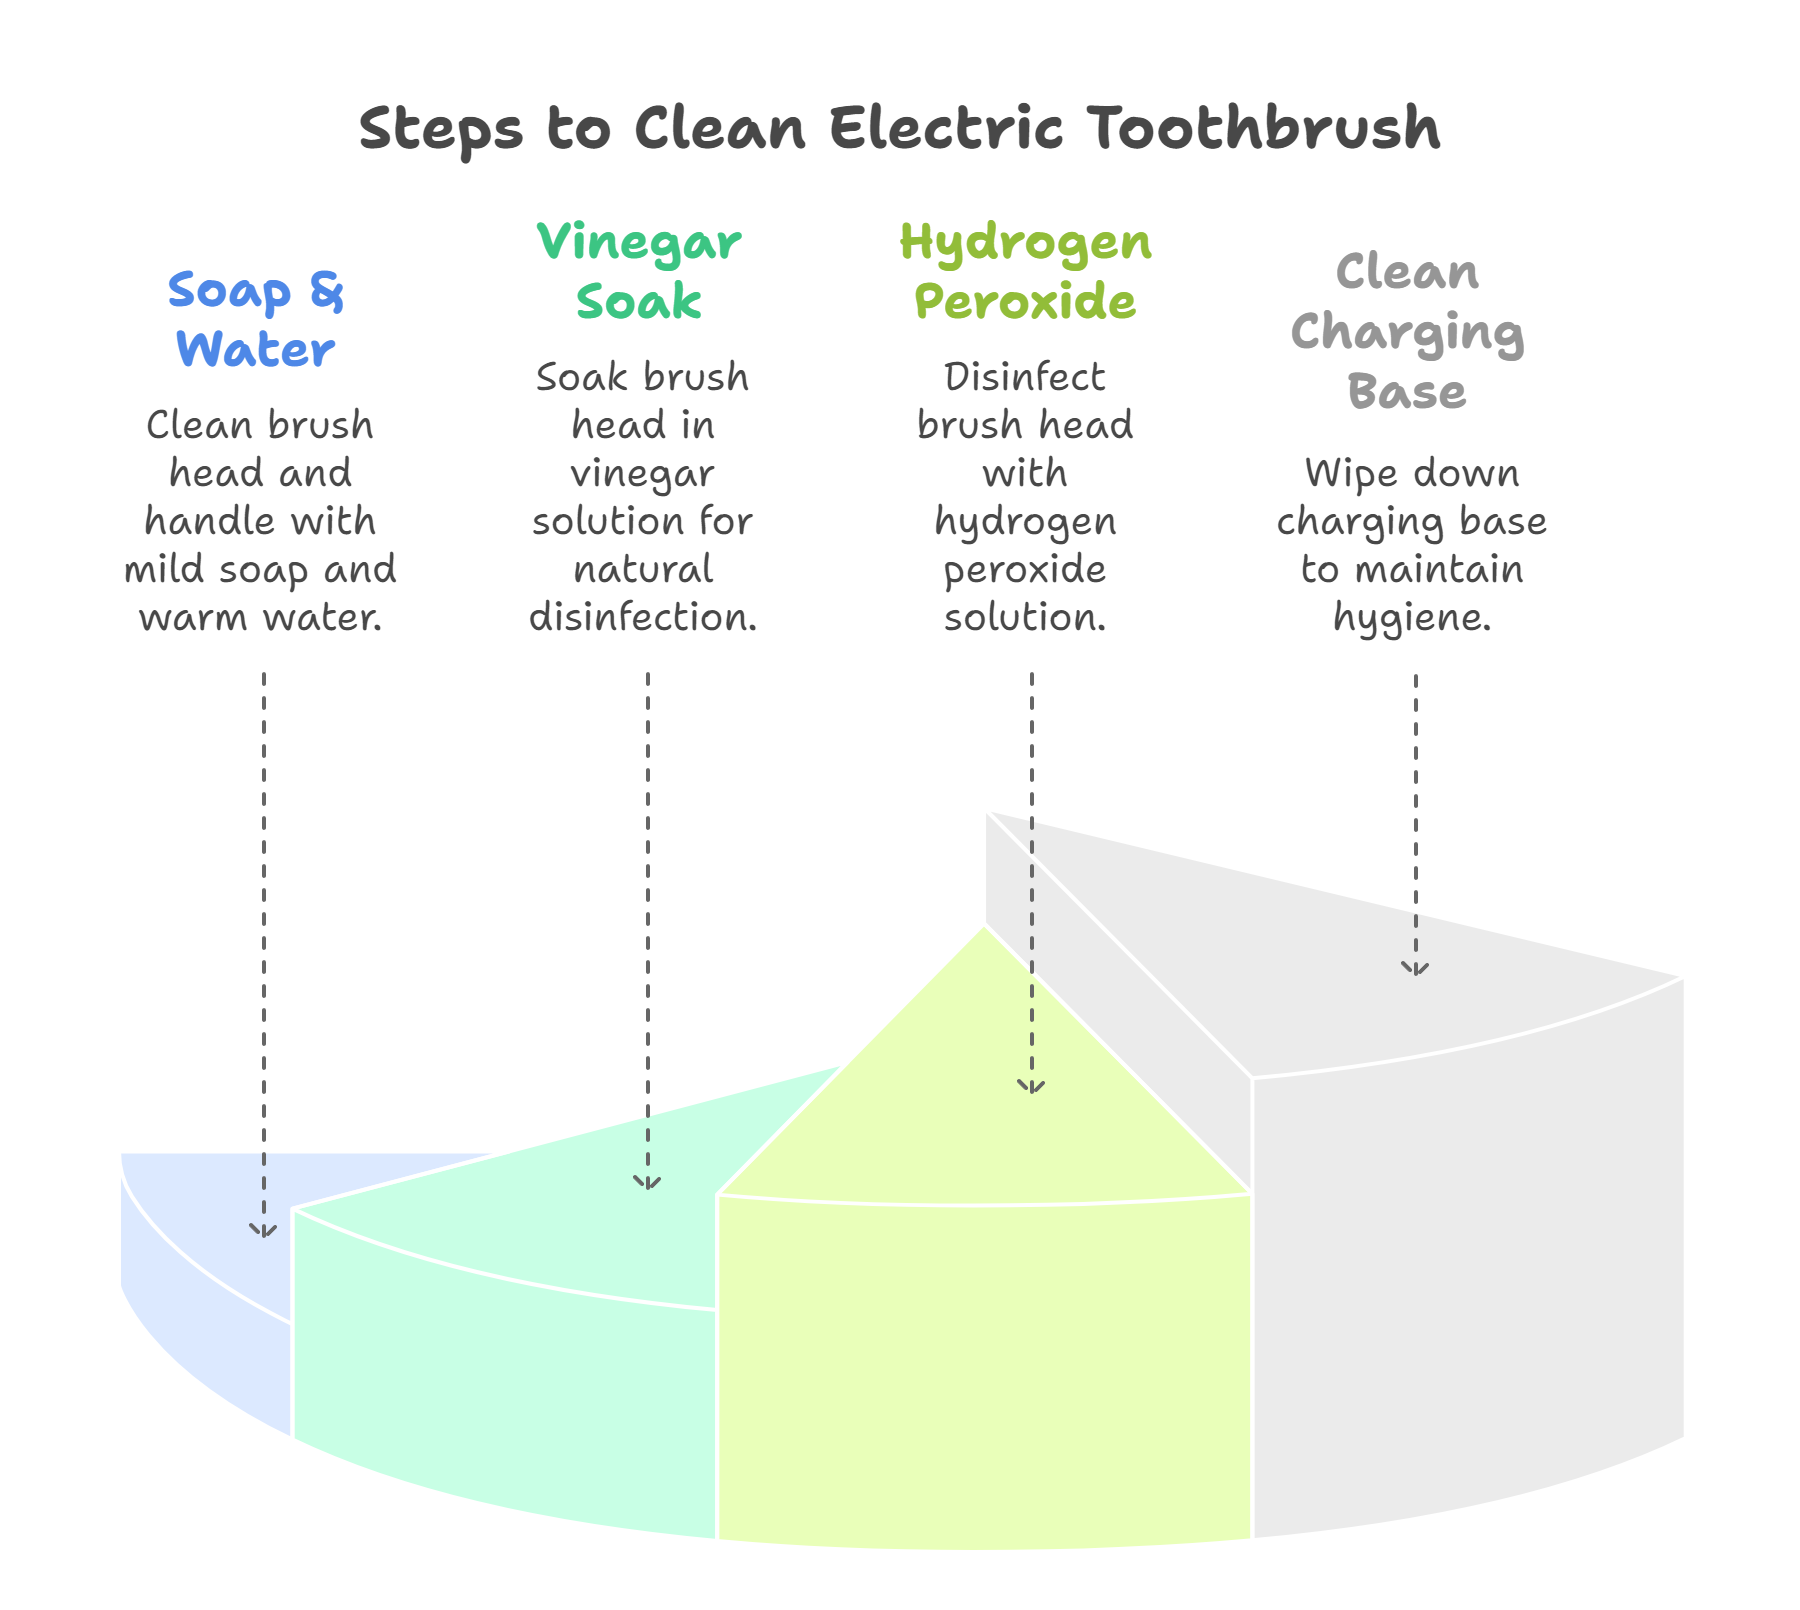
Daily rinsing helps, but to really keep your electric toothbrush fresh, sanitary, and functioning at its best, a weekly deep clean is essential. Over time, buildup from toothpaste, saliva, and bacteria can collect in areas you might not even notice—like between the bristles or inside the brush head connection.
Here’s how to give your electric toothbrush a deeper clean once a week:
1. Use Mild Soap and Warm Water
This simple method is one of the easiest and most effective ways to clean both the brush head and handle.
How to do it:
-
Remove the brush head from the handle.
-
Soak the head in warm, soapy water for a few minutes. Use a mild liquid soap (like dish soap or hand soap).
-
Use a soft brush or your fingers to gently scrub the bristles and the base of the head where it connects to the handle.
-
Rinse thoroughly with warm water.
-
Wipe the handle with a damp cloth and a bit of mild soap to remove grime, then dry it with a clean towel.
Avoid using harsh chemicals or abrasive scrubbers—they can damage the surface or weaken the bristles over time.
2. Vinegar Soak for Natural Disinfection
White vinegar is a natural disinfectant and a great option for removing stubborn residue or mineral buildup (especially if you have hard water).
How to use it:
-
Mix equal parts white vinegar and warm water in a cup or bowl.
-
Detach the brush head and soak it in the mixture for 20–30 minutes.
-
After soaking, rinse thoroughly under warm water to remove any lingering vinegar smell or taste.
-
Let it air dry before reassembling.
Bonus tip: You can also dip a cotton swab in vinegar to gently clean tight areas around the brush head base.
3. Hydrogen Peroxide Disinfection
Hydrogen peroxide is another safe, dentist-approved method for disinfecting your toothbrush head weekly.
How to do it:
-
Mix 1 part 3% hydrogen peroxide with 1 part water in a cup.
-
Submerge the toothbrush head (detached from the handle) in the solution for 15 minutes.
-
Rinse thoroughly with water and let it air dry.
This is especially helpful if you've been sick, or just want an extra layer of sanitation to kill bacteria.
Expert Tip: Take a few seconds each week to wipe down the charging base or docking station. Use a damp cloth or an alcohol-based wipe to remove dust, toothpaste splatter, and grime. Keeping the base clean helps your brush charge properly and stay hygienic.
Sanitization Techniques
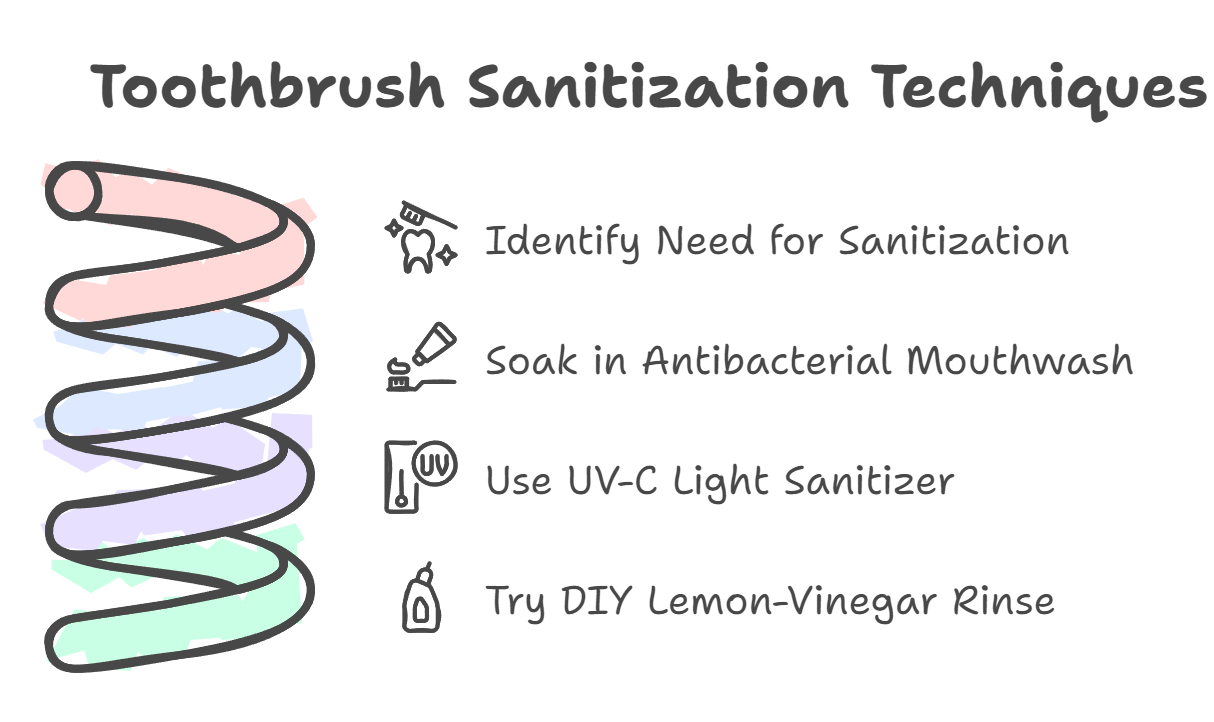
Did you know your toothbrush can harbor up to 10 million bacteria? That’s why regular sanitizing isn’t just optional—it’s essential for maintaining a clean brush and good oral hygiene. Fortunately, you don’t need a lab to keep things sterile. Here are three proven ways to sanitize your electric toothbrush at home:
1. Soak in Antibacterial Mouthwash
One of the simplest and most effective methods: soak the brush head in antibacterial mouthwash for about 15 minutes. This helps kill lingering bacteria and leaves your toothbrush feeling fresher. Just be sure not to leave it in too long, as some alcohol-based mouthwashes may wear down bristles over time.
2. Use a UV-C Light Sanitizer
For a tech-savvy solution, UV-C light sanitizing devices offer powerful disinfection. These gadgets use ultraviolet light to destroy germs at the microbial level. If you’re serious about hygiene (or just love gadgets), this is a great upgrade to your bathroom routine.
3. Try a DIY Lemon-Vinegar Rinse
Prefer a natural approach? Mix equal parts white vinegar and water, then add a few drops of lemon essential oil. Soak the toothbrush head for 10–15 minutes. This DIY method disinfects while leaving a fresh, citrusy scent—and it’s budget-friendly, too.
Charging Base and Storage Maintenance
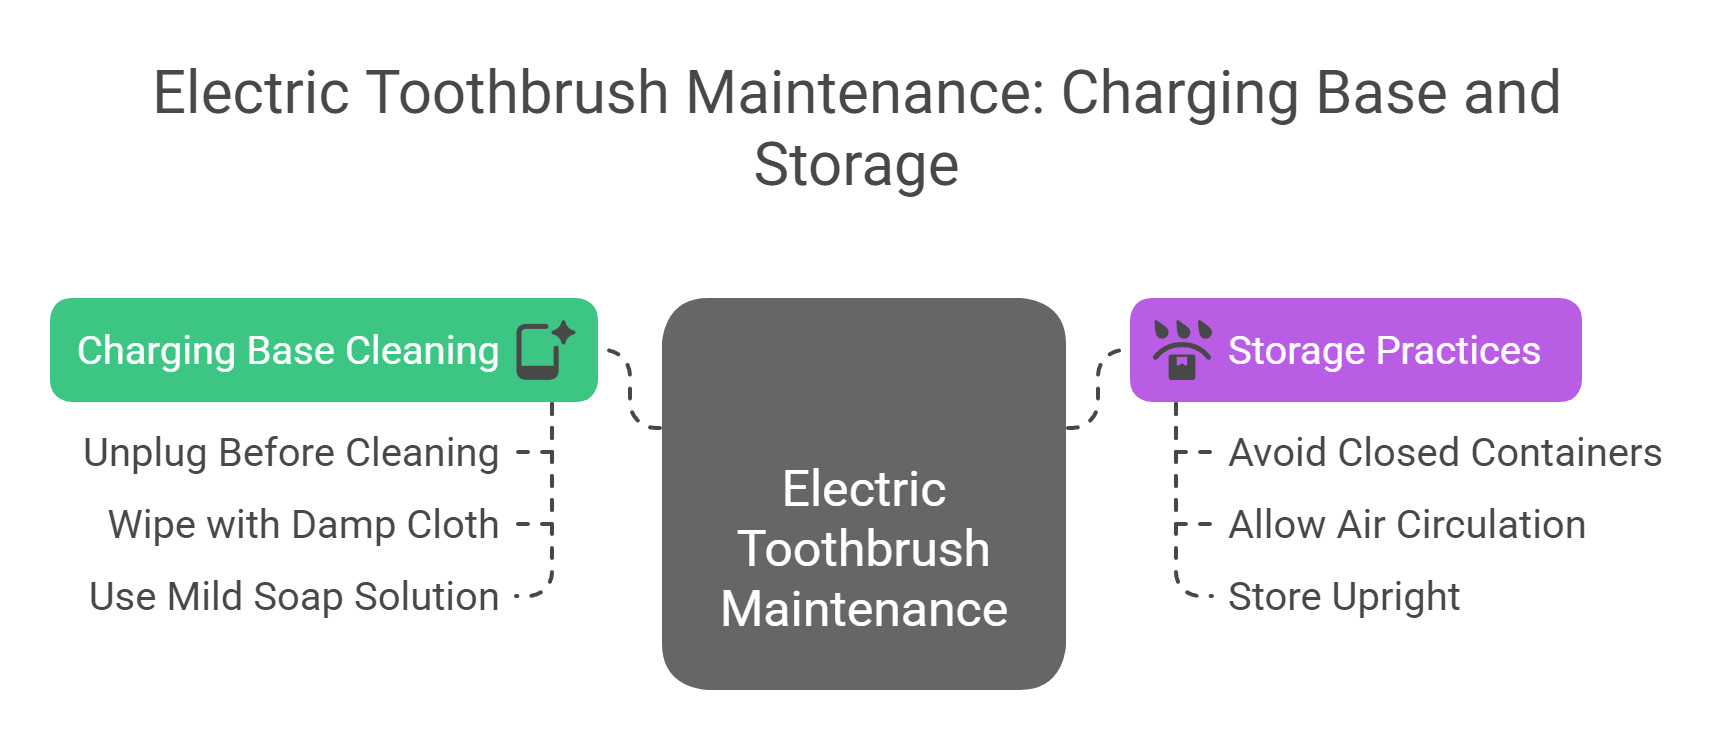
Proper care of your electric toothbrush doesn't stop at the brush head. Maintaining the charging base and storing your toothbrush correctly are essential to preventing moisture buildup, bacterial growth, and long-term damage to your device.
Clean the Charging Base Regularly
To prevent grime, bacteria, and mold from collecting:
-
Unplug the charging base before cleaning for safety.
-
Wipe it down with a soft, damp cloth.
-
For stubborn buildup, use a mild soap solution or a 1:1 mix of white vinegar and water.
-
Be sure to clean under and around the base, as residue can pool there unnoticed.
Aim to clean the charging base at least once a week, or more frequently if you notice moisture or toothpaste splatter.
Avoid Closed Storage Containers
While it may seem more sanitary to store your toothbrush in a closed case or cup, doing so can trap moisture:
-
Enclosed spaces create the ideal environment for mold and bacteria.
-
A damp brush head stored in a sealed container won't dry properly, leading to unpleasant odors or even bristle deterioration.
Unless you’re traveling, always allow your toothbrush to air dry fully between uses.
Allow Proper Air Circulation
After each use, store your electric toothbrush upright in a well-ventilated area:
-
This allows excess water to drip off and air to circulate freely, reducing moisture buildup.
-
Avoid placing the toothbrush near the toilet or directly next to the sink to limit potential contamination.
-
If storing multiple toothbrushes together, make sure the heads do not touch to prevent cross-contamination.
Many toothbrushes come with vented covers—these are ideal for allowing airflow while still offering basic protection.
Mold Prevention and Removal
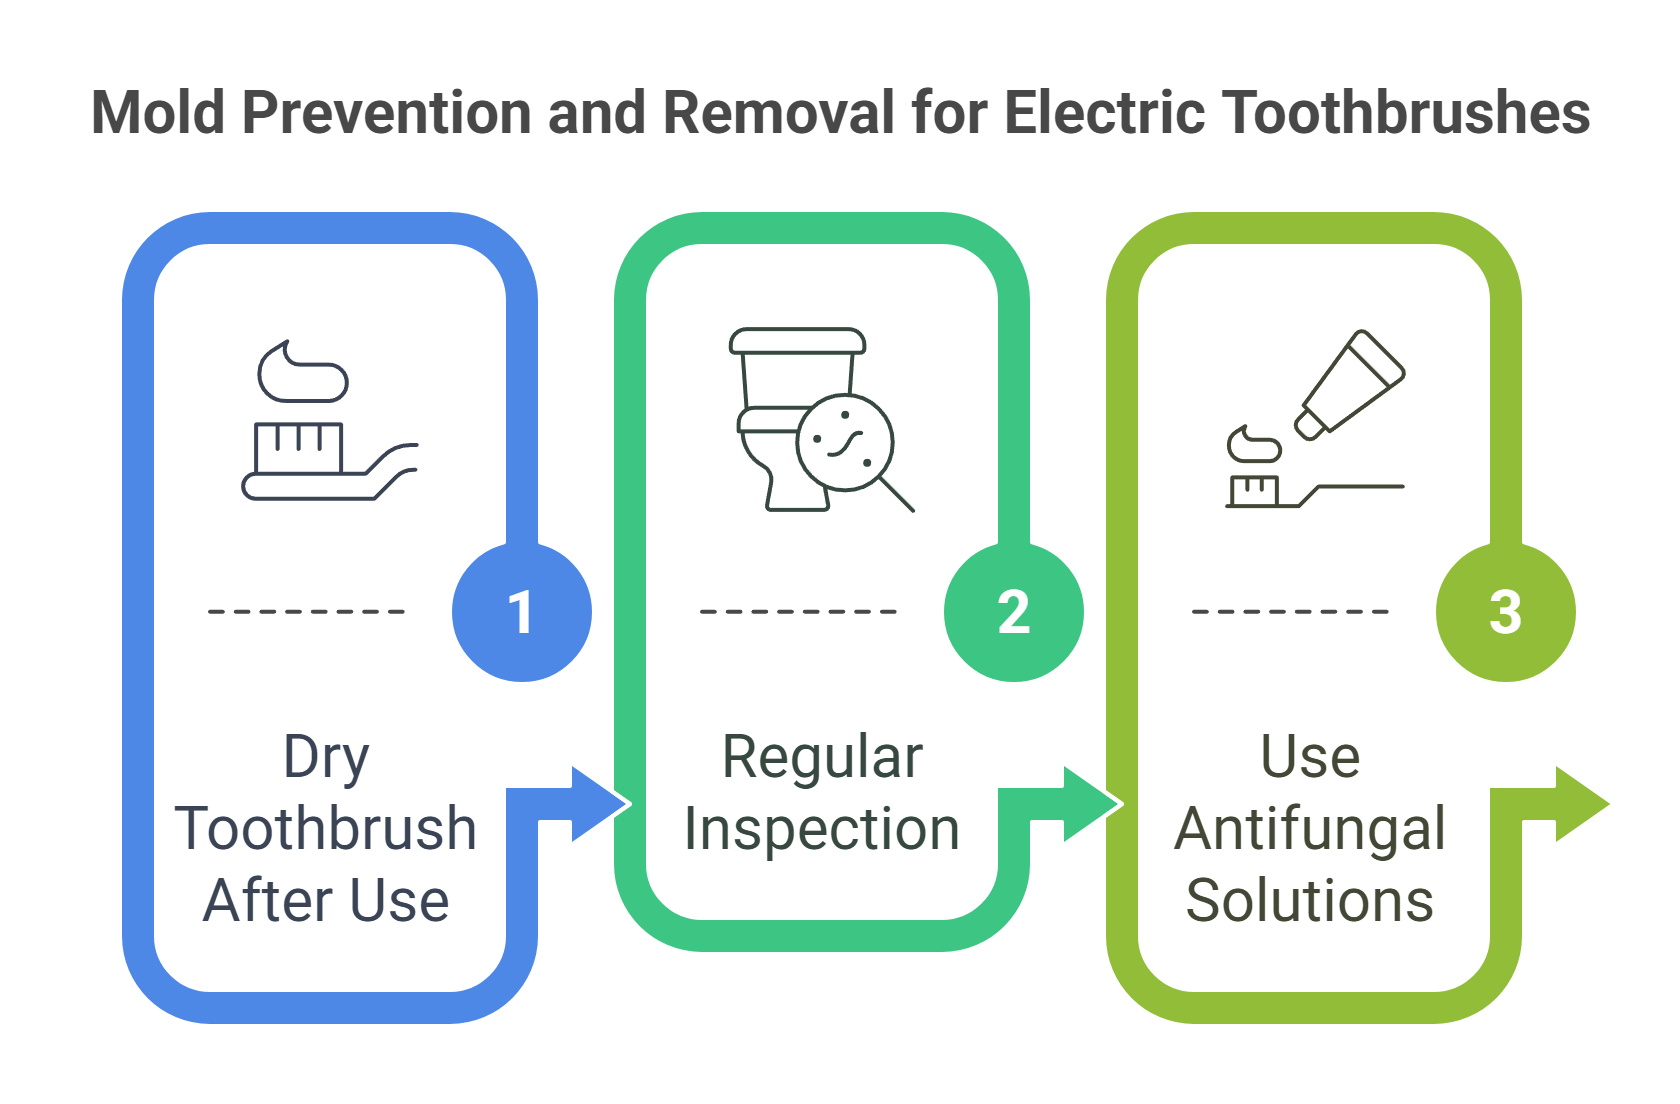
Preventing and removing mold is crucial for maintaining a clean and hygienic electric toothbrush. Regular cleaning and proper drying techniques are essential to inhibit mold growth.
Use these methods to prevent and remove mold.
Thorough Drying After Each Use
Thoroughly drying your electric toothbrush after each use is vital to prevent mold growth. Shake off excess water and allow the toothbrush to air dry completely to inhibit mold.
Regular Inspection for Mold
Inspect your electric toothbrush regularly for mold, especially in hard-to-see areas where moisture can accumulate.
Thorough drying after each use is essential to ensure items are completely dry and to prevent mold growth.
Use of Antifungal Solutions
If mold persists despite regular cleaning efforts, use antifungal solutions to eliminate it.
Soak the brush head in antibacterial mouthwash for 15 minutes to sanitize and eliminate mold.
Brush Head Replacement Schedule
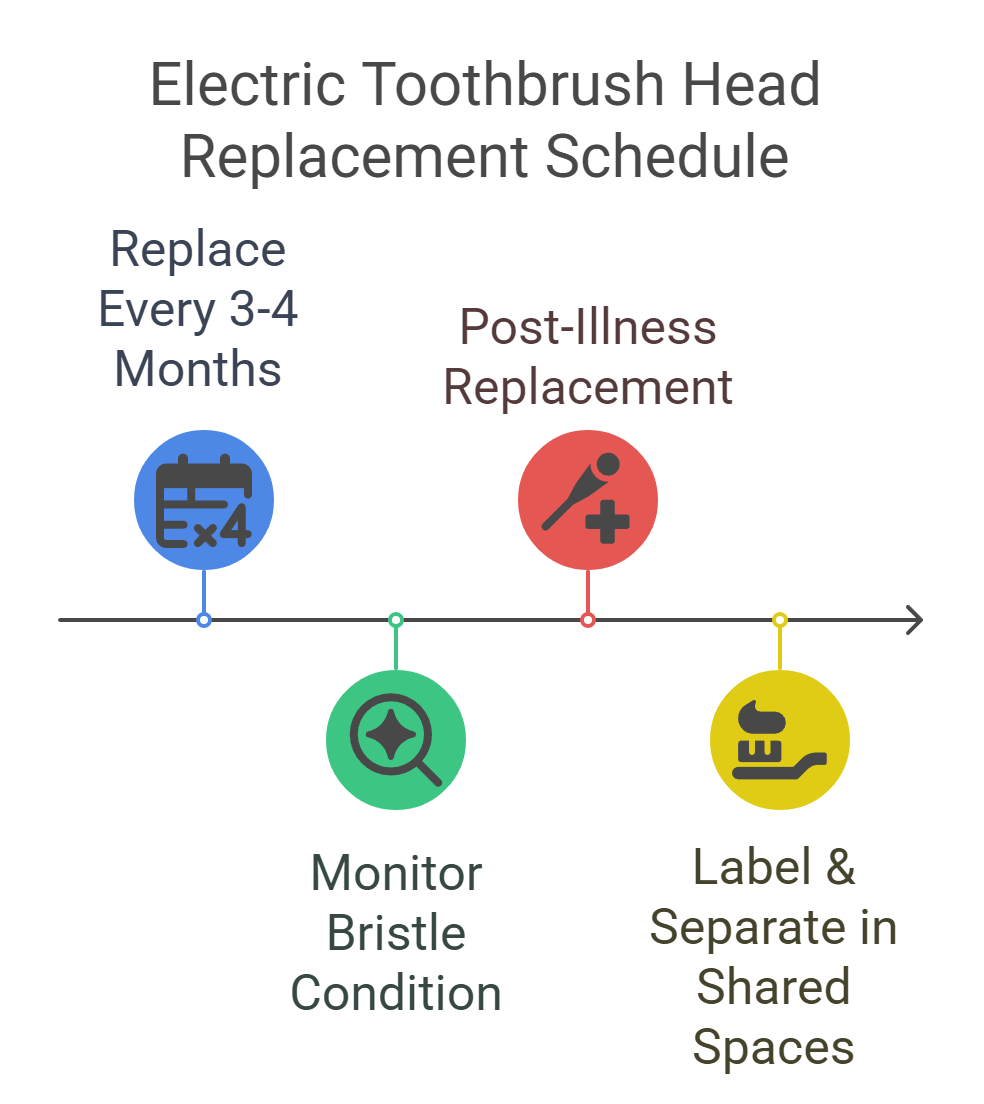
Keeping your electric toothbrush effective comes down to one simple habit: replacing the brush head on time. Overused or worn-out bristles can’t clean properly, and continuing to use them may undermine the benefits of even the most advanced toothbrush.
Follow these guidelines for replacing your electric toothbrush head.
Replace Every 3-4 Months
Replace electric toothbrush heads every 3 to 4 months to maintain effectiveness, as recommended by dental professionals. This regular replacement helps maintain optimal oral hygiene.
Monitor Bristle Condition
Replace the brush head when the bristles are worn, frayed, or splayed. Using a worn brush head can compromise oral hygiene. It becomes less effective at removing plaque and debris.
Post-Illness Replacement
To prevent reinfection, it is essential to change the brush head immediately after recovering from any illness.
This practice helps maintain a clean electric toothbrush electric brush.
Bonus Tip: Label & Separate in Shared Spaces
In households where multiple people use the same electric toothbrush base with different heads, ensure each person’s brush head is clearly labeled and stored separately. This prevents mix-ups and minimizes the risk of spreading bacteria.
Battery Care and Longevity
Proper battery care ensures the longevity of your electric toothbrush. Follow these tips to keep your toothbrush’s battery in good condition.
Avoid Overcharging
To prevent battery damage, unplug the electric toothbrush once it reaches full charge. Leaving it plugged in continuously can lead to battery degradation and reduced lifespan.
Use Original Chargers
Always use the original chargers provided by the manufacturer to ensure proper voltage and current delivery. Using chargers not designed for your toothbrush may lead to battery damage or failure.
Periodic Full Discharge
Periodically allowing the battery to completely discharge enhances its lifespan and performance. Following this practice is crucial for maintaining the battery in good condition.
Travel Care and Maintenance
Careful handling while traveling ensures your electric toothbrush remains effective and hygienic.
Maintain your toothbrush on the go with these tips.
Use Travel Cases During Transport
A hard-shell travel case protects your electric toothbrush from impacts and contamination during transport.
This ensures your new toothbrush remains in good condition while traveling.
Avoid Prolonged Storage in Cases
Prevent moisture buildup by not storing your electric toothbrush in travel cases for extended periods.
Ensure proper air circulation and drying to maintain hygiene.
Clean Before and After Travel
Clean your electric toothbrush before and after travel to maintain optimal oral hygiene. Remember to clean your toothbrush to ensure its effectiveness.
This practice ensures your manual toothbrush remains clean and functional during your trip.

Special Cleaning Considerations
Specific situations require special cleaning considerations for electric toothbrushes. Follow these guidelines for specific scenarios.
After Illness
Disinfect your toothbrush thoroughly after an illness to eliminate residual pathogens and prevent reinfection. This step is crucial for maintaining oral hygiene. It is also advisable to change your electric toothbrush head after someone in your household has been sick to prevent recontamination.
Shared Brushes
To maintain hygiene and prevent cross-contamination, avoid sharing your electric toothbrush. Replace the brush head immediately if someone else uses your toothbrush to avoid potential infections. Each person should have their own toothbrush to avoid the exchange of bacteria and infections.
Each toothbrush should have separate storage containers to prevent cross-contamination in shared environments.
Sensitive Gums
For individuals with sensitive gums, consider the following to minimize irritation during cleaning:
-
Use soft-bristled brush heads.
-
Employ gentle cleaning methods.
-
Opt for softer bristles to ensure gums are not irritated while maintaining optimal oral hygiene.
Summary
Keeping your electric toothbrush clean isn’t just about hygiene—it’s about making sure it performs at its best for as long as possible. A consistent cleaning routine helps prevent bacteria buildup, protects the brush’s components, and supports your overall oral health.
-
Daily rinsing and drying keep your brush fresh between uses.
-
Weekly deep cleaning and sanitization eliminate stubborn buildup and germs.
-
Proper storage and charging base maintenance extend your device’s life.
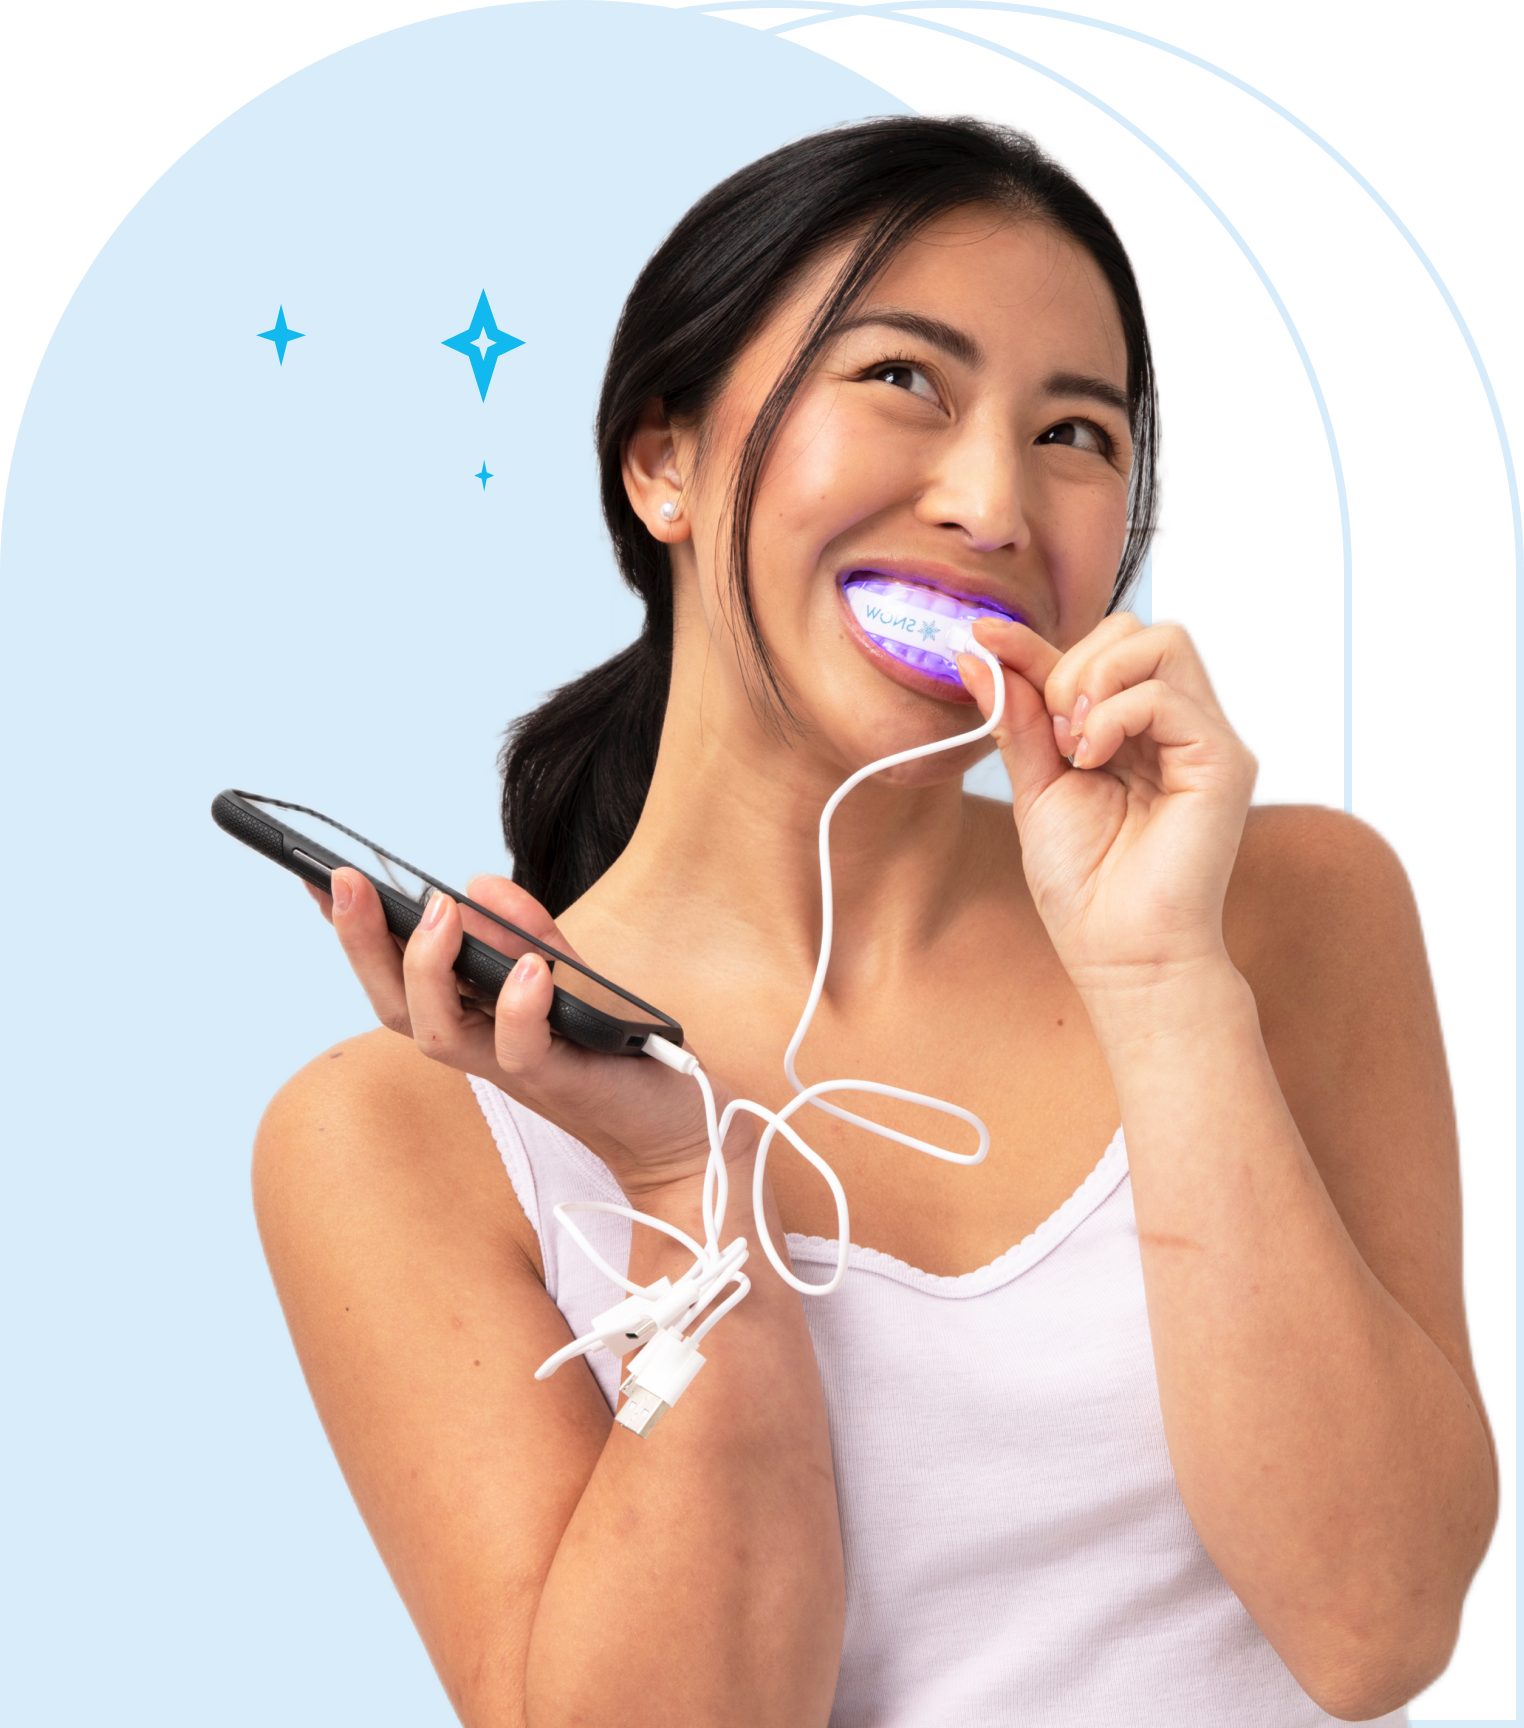
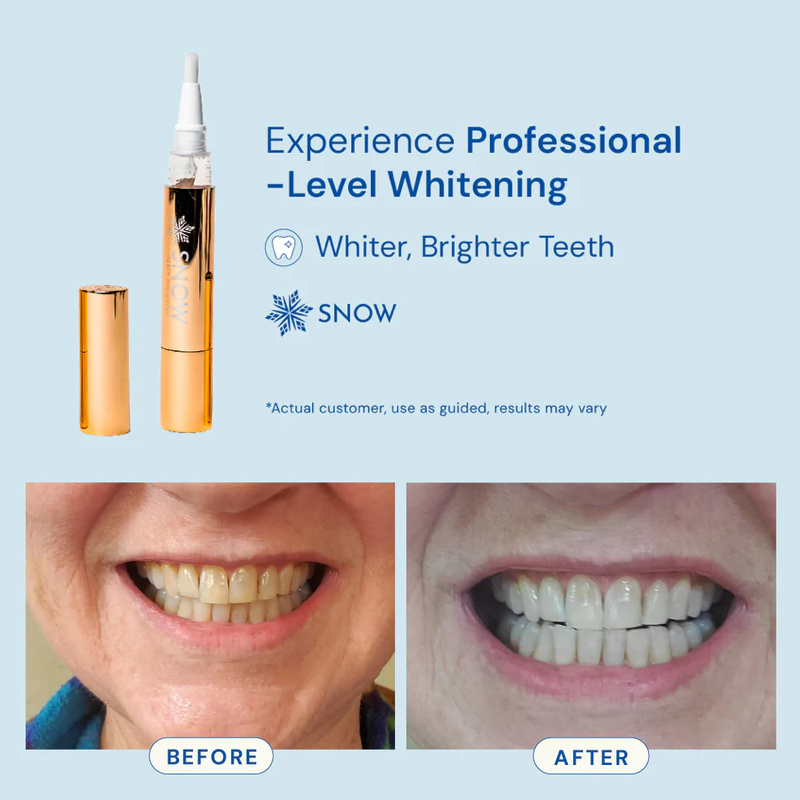
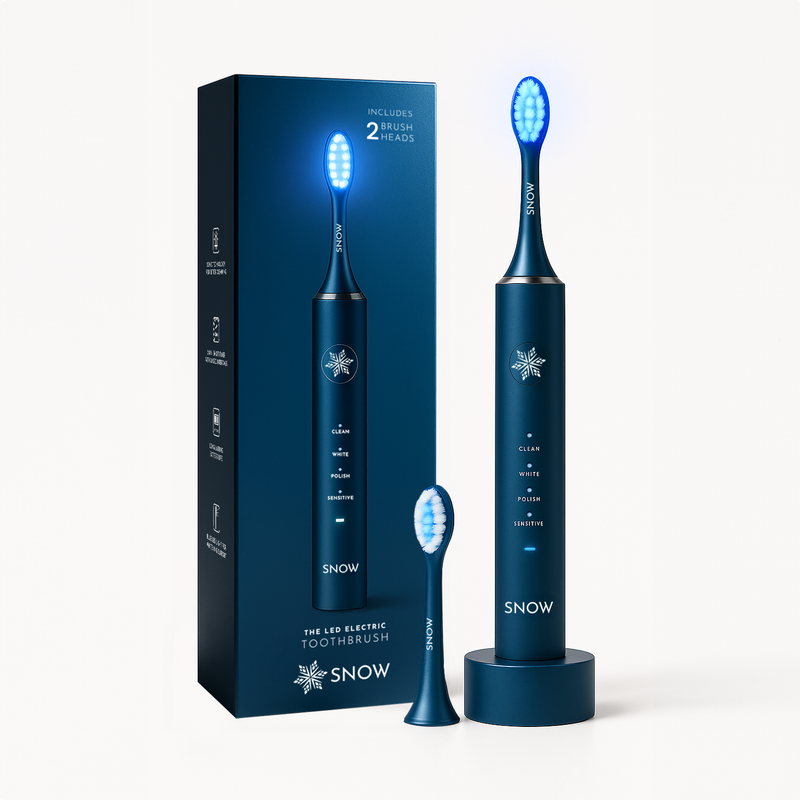
Looking for a brush that’s just as easy to clean as it is effective? SNOW’s LED Electric Toothbrush is designed with hygiene and performance in mind—so your routine stays simple, and your smile stays bright.
Frequently Asked Questions
How often should I replace my electric toothbrush head?
You should replace your electric toothbrush head every 3-4 months or sooner if the bristles become frayed. Regular replacement ensures optimal cleaning and dental health.
Can I use regular soap to clean my electric toothbrush?
You can use mild hand soap with a non-abrasive cloth for weekly deep cleaning of your electric toothbrush. Just ensure the soap is not too harsh to avoid damaging the toothbrush.
Is it safe to store my electric toothbrush in a closed container?
Storing your electric toothbrush in a closed container is not safe, as it can trap moisture and foster bacterial growth. Instead, keep it upright in a well-ventilated area for optimal hygiene.
What should I do if I notice mold on my electric toothbrush?
If you notice mold on your electric toothbrush, clean it immediately with antifungal solutions and ensure it is thoroughly dried after each use to prevent future growth.
How can I sanitize my electric toothbrush after an illness?
To effectively sanitize your electric toothbrush after an illness, soak the brush head in antibacterial mouthwash for 15 minutes to eliminate any lingering bacteria. This preventative measure helps reduce the risk of reinfection.


![Clove Oil for Toothache Relief [Does it Really Work]](http://www.trysnow.com/cdn/shop/articles/clove_oil_for_toothache_does_it_really_work.png?v=1755777694)